Cultivate your green thumb with our comprehensive guide to Spider Plant propagation. To know step-by-step methods for multiplying these beautiful houseplants.
Spider plants are popular houseplants for their low maintenance and ease to care. They have beautiful hanging leaves. These plants grow very fast in a natural way.
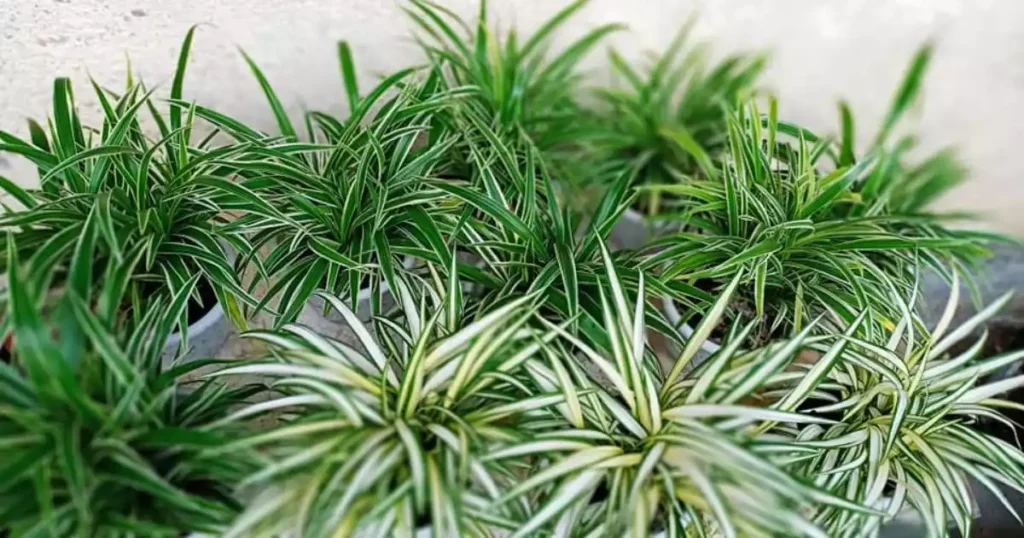
They only need well-drained soil, indirect light, and moderate watering to propagate. The scientific name of this plant is Chlorophytum comosum.
Spider plants are very famous for their pretty green or variegated foliage. You can easily propagate spider plants anywhere in your home and share the joy with friends and family.
In This Article
Characteristic of Spider Plant
| General Name | Spider plant, airplane plant, ribbon plant |
| Plant Family | Asparagaceae |
| Type of Plant | Perennial houseplant |
| Leaf Size | 6-12 inches long, 1-2 inches wide |
| Sun Exposure | Bright to moderate indirect sunlight |
| Propagation | Easily propagated by division or by rooting plantlets |
| Type of Soil | Well-draining potting mix |
| Toxicity | Non-toxic to pets and humans |
| Blooming Time | Spring and summer |
Methods of Spider Plant Propagation
This guide will explore how to propagate spider plants effectively. It includes detailed instructions and helpful tips for its plantation.
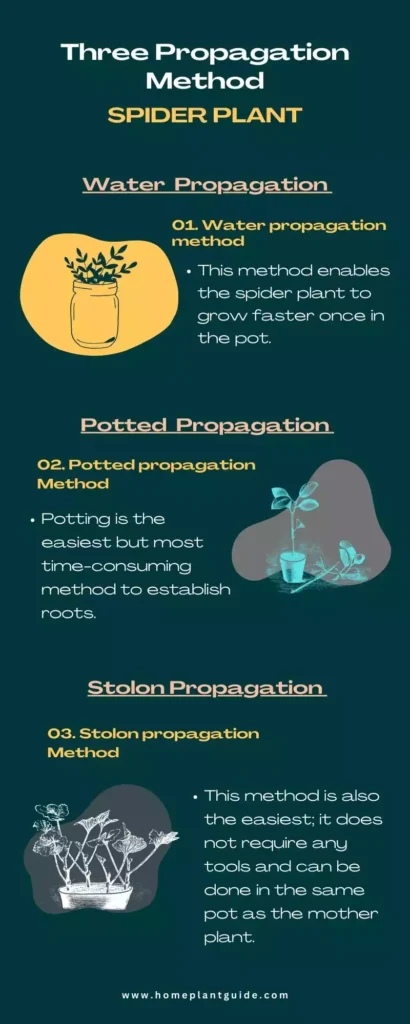
There are three main ways to propagate spider plants.
01 Water Propagation
This is the most common and easiest method to thrive this plant, especially for beginners.
02 Direct Soil Planting
This method is fast and allows the spiderette to establish itself in its final pot quickly.
03 Stolon Layering
This method allows you to propagate multiple spiderettes at once without cutting them from the mother plant.
Advantages of the three methods
Choose the Right Method
The best method for you will depend on your personal preference. It depends on the size and condition of your spider plant. If you have a mature plant with several spiderettes, you can try all three methods simultaneously.
Here we are explaining each method one by one.
Method 01 – Water Propagation
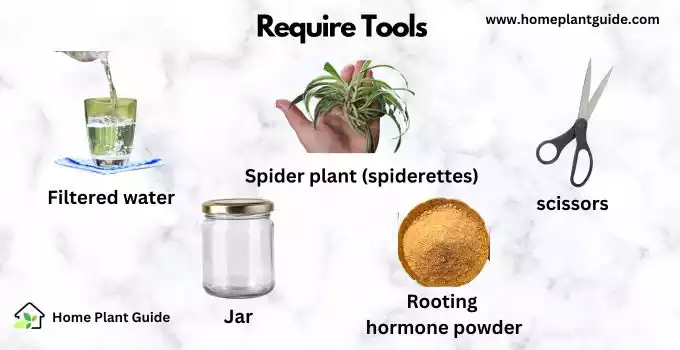
Require Tools:
- Clean jar or glass
- Filtered water
- Sharp knife or scissors
- Spider plant with spiderettes
- Optional: Rooting hormone powder
Follow the steps
Step#1
First, Fill the jar with filtered water.
Step#2
you need to select healthy spiderettes with visible roots or small bumps that will soon develop into roots.
Step#3
Use a sharp knife or scissors to cut the spiderette from the stolen, leaving a few inches of the stolon attached.
Step#4
Now dip the cut end of the stolon in rooting hormone powder (optional).
Step#5
After that place the spiderette in the jar of water and ensure the roots are submerged.
Step#6
Now place the jar in a warm, well-lit location away from direct sunlight.
Step#7
You can change the water every 5-7 days to keep it fresh.
Step#8
You should see new roots forming on the spiderette within 2-3 weeks.
Step#9
Once the roots are about 1 inch long, the spiderette is ready to be planted in the soil.
-Pro Tips-
- You can use a clear container to monitor the root growth.
- Add a small amount of liquid fertilizer to the water once a week to encourage root development.
- If the water becomes cloudy or discolored, discard it and replace it with fresh water.
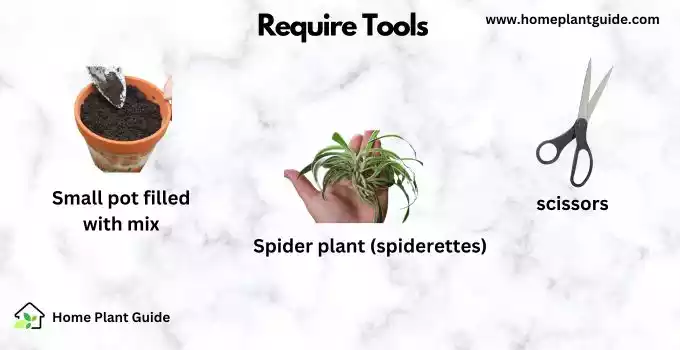
Method 02 – Direct Soil Planting
Require Tools:
• Small pot filled with well-draining potting mix.
• Sharp knife or scissors.
• Spider plant with spiderettes.
Follow the steps
Step#1:
Select healthy spiderettes with visible roots.
Step#2:
Use a sharp knife or scissors to cut the spiderette from the stolon and will leave a few inches of the stolon attached.
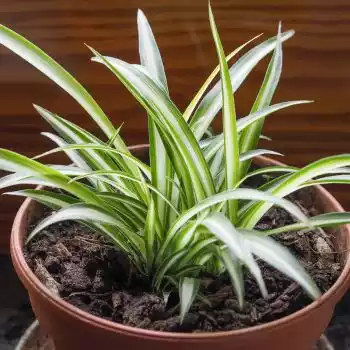
Step#3:
Make a small hole in the potting mix and gently insert the spiderette and bury the cut end of the stolon.
Step#4:
Spread the water in the soil thoroughly.
Step#5:
Place the pot in a warm and well-lit location. But make sure it will stay away from direct sunlight.
Step#6:
Keep the soil moist but not soggy.
Step#7:
Within a few weeks, you can see the spiderette should start to grow with new leaves.
-Pro Tips-
- You can use a humidity dome to increase the humidity around the spiderette and encourage root development.
- Mist the leaves occasionally to keep them hydrated.
- Fertilize the spiderette with a balanced liquid fertilizer once a month.
Get Spider Plant Guide
| Spider Plant Care, Benefits, Curly Spider Plant, Toxicity & More Details | Explore |
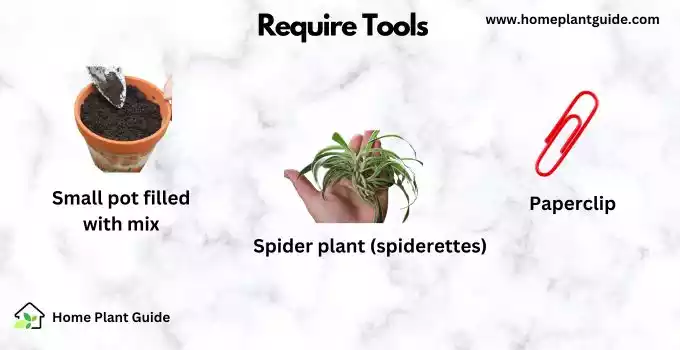
Method 03 – Stolon Layering
Require Tools:
- Small pot filled with well-draining potting mix.
- Wire pin or paperclip.
- Spider plant with spiderettes.
Follow the steps
Step#1
Select a healthy spiderette with visible roots.
Step#2
Fill the small pot with potting mix.
Step#3
Place the pot near the mother plant.
Step#4
You can use a wire pin or paperclip, bend the stolon down and bury the spiderette in the potting mix and to ensure the roots are covered.
Step#5
Spread the water in the soil thoroughly.
Step#6
Continue to care for the mother plant and the newly potted spiderette.
Step#7
Once the spiderette has established itself and grown new leaves, you can cut the stolon connecting it to the mother plant.
-Pro Tips-
- You can layer multiple spiderettes at once in this way.
- Keep the soil moist but not soggy.
- Fertilize the spiderette properly. Add balanced liquid fertilizer once a month.
Additional Tips for Successful Spider Plant Propagation
01. You may use sterile tools to prevent the spread of diseases.
02. Always choose healthy spiderettes for propagation.
03. Try to avoid overwatering or underwatering the newly planted spiderettes. So check it from time to time in certain intervals.
04. Generally spider plant propagation takes some time, so you need to patience.
See the spider plant propagation method
Read More About Plantation: